There might be various reasons why you’re searching for a free domain. Some of the most common reasons include:
- Budget Constraints – You may not have the budget to purchase a domain.
- Shopify Store Setup – You might need a free domain for your Shopify store.
- Business or Blog Launch – You want to start a business or blog with a free domain.
- Brand Protection – You may want to secure your brand name by registering its domain.
No matter your reason, this guide will walk you through the process of getting a free domain for one year using a coupon code that works for .com and .co.uk domain extensions.
Note: The coupon code only covers the domain registration cost.
Step-by-Step Process to Get a Free Domain
1. Visit the Domain Provider
Go to names.co.uk.
2. Search for Your Desired Domain
- Enter your preferred domain name.
- Choose a .com or .co.uk extension.
- Select only one domain and deselect the proxy service.
3. Continue to Checkout
Click continue to proceed to the next step.
4. Deselect Additional Services
Uncheck any additional services like email hosting to avoid extra charges.
5. Apply the Coupon Code
Note: I currently do not have a working coupon code, but .uk and .co.uk domains are often available for free.
6. Verify That the Domain Is Free
After applying the coupon, your domain cost should become FREE.
7. Accept Privacy Policy
Read and accept the provider’s privacy policy.
8. Select Payment Method
- Choose Credit/Debit Card as your payment option.
- Enter your card payment details.
9. Complete Your Order
- Place the order.
- You will see a charge of 1.00 GBP (~$1.34 USD), which will be refunded after domain approval.
10. Wait for Domain Approval
Your domain will typically be approved within 24 hours.
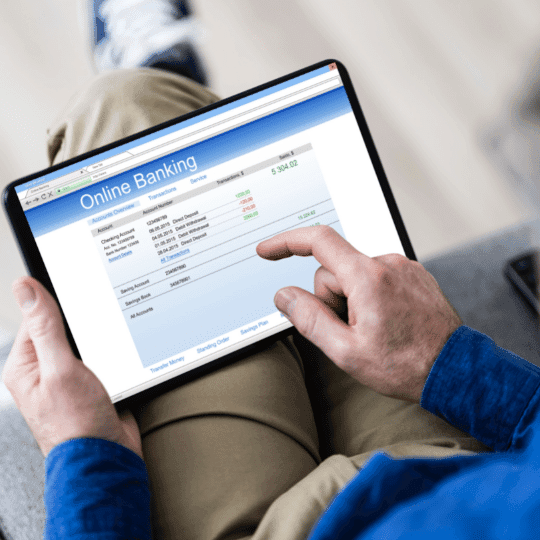
Accessing Your Free Domain in cPanel
Once your domain is approved, follow these steps to access your hosting panel:
1. Login to cPanel
If you face an error while logging in, it may be due to security restrictions.
- Use a VPN to bypass these security restrictions.
2. Adjust Security Settings
After logging into cPanel:
- Enable Two-Factor Authentication
- Disable Location Restriction and IP Login Rate Limit
3. Your Free Domain is Now Active!
You can now manage your website through cPanel and start building your online presence.
This simple process allows you to register a domain for free and get started with your website, business, or brand without any upfront costs. Happy domain hunting!


Hello, please, I don’t have a card
A credit to activate the domain can help me with credit card details that do not have a balance
Do you have any more cupon??
Nope
it’s illegal and forbidden, isn’t it?
Why it can be illegal while you could use a coupon?
Hi Reza,
I enjoyed your guide so much. Just yesterday, I wanted to get a paid domain name at about $9/year.
But my delay has brought me to watch two of your videos today.
I am a Nigerian. Do I still need a VPN? I paid for ExpressVPN for a month but has expired.
Thank you very much
When opening an account go to account security, disable location restriction and IP login limit. And you can set 2f authentication (optional). Then you wont need VPN. You need VPN in case if you did not set up the mentioned settings above.
Hello, please, I don’t have a card
A credit to activate the domain can help me with credit card details that do not have a balance
Hello, Mohamed. I can understand your situation.
I have purchased a domain few days ago using namesco. If you want it, I can give it to you for free. It is a 5-letter domain. Let me know if you need it.
the Code did not work for me
As of today 11.26.2020 the coupon(voucher code) works. Make sure you use the correct one.
yes i m interested i cant afford to buy a domain
yes i m interested i cant afford to buy a domain
my email is
[email protected]